Trigger-it has built in remote control feature for endpoints that surpasses the less-features provided ones from competitors like SCCM or Anydesk.
Trigger-it Remote Control features includes:
- Works for PCs inside and outside the corporate network.
- Works over the internet using HTTP/HTTPS protocol.
- Works over proxies and firewalls and doesn’t require any special configuration.
- Connection is always outbound from the endpoints and doesn’t require inbound connections.
- Supports session sharing, file transfer, multiple screens.
- Works for Windows and Linux.
- Doesn’t require a service side EXE.
- Has a builtin web portal to control devices.
- Supports remote CMD commands from web portal.
- Supports sessions recording based on rules.
To install the remote control feature, follow the below steps:
Prerequisites
In order to run the remote control server side components, the server must have the following prerequisites:
- OS: Windows Server 2012 R2, 2016 or 2019
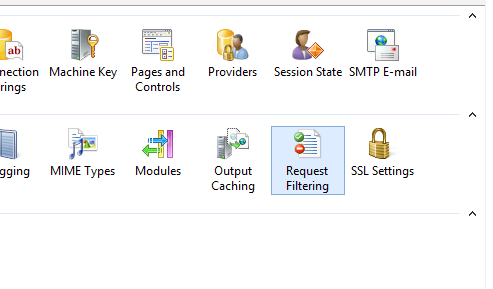
- IIS With .net features, websockets, IIS management tools and Request Filtering.
- ASP.NET Core hosting DLLS v2.2.5
Once you have the server with the prerequisites configured,
Configure IIS to listen on Different Port:
- Open IIS manager and copy Trigger-it IIS files from the installation folder to the root Website.
- Create a new web application and name it “Triggerit”, it should be configured with CLR 4.0.30319

- Create a new Website and call it ‘Triggerit”, point it to the following folder “C:\inetpub\wwwroot\triggerit”
- Configure the website to use the Triggerit Web Application.
- Configure the new website to listen on port 8888

- On the update folder make sure to remove .config from Request filter so it is allowed to be downloaded
- The end result should be as following:

Configure “DEfault Web Site” PROPERTIES:
- Open “Default Web Site” and Choose Advanced Settings .
- Configure the Physical Path Credentials with an account which has full access to the path and launch permissions on the server (This is to support recording feature”

- Configure the Default App Identity to run as Administrator or an account with local admin permissions on the server

Restart IIS, and by now you are done, you should be open the default website and you will prompted with Trigger-it Remote Control Web Portal.
